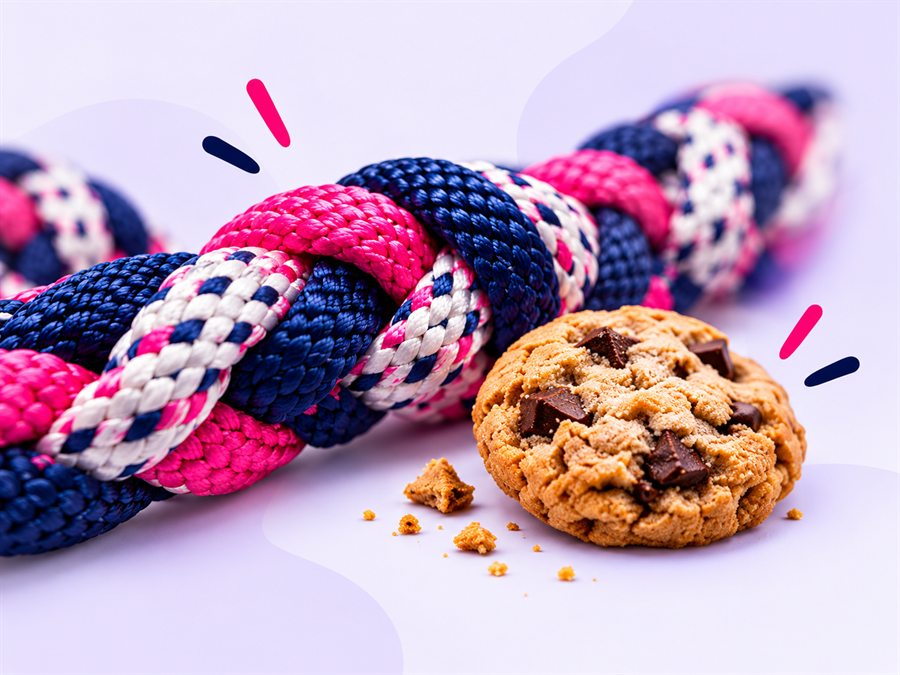
A paracord survival kit
Which items are worth keeping to hand, and how paracord helps in an emergency.
Step by step, we show you how to make a durable survival bracelet. All you need is cord, a buckle and half an hour — it really is simpler than it looks.
 Marek Dąbrowski
8 min read
Guides

A paracord bracelet is the simplest way to always carry a few metres of genuinely strong cord. When you need it, you unravel it in seconds and have line ready to repair a backpack, a tent guy or an improvised sling.
Below you will find the whole set: the material list, how to work out the cord length, and the cobra weave broken into five steps. It is the weave most people start with — fast, even, and it looks good on the first attempt.
A basic set is enough for one bracelet. If you are just starting, a ready-made DIY kit is the easiest route — everything is in one box.
Material list
The rule is simple: take about 10 cm of cord for every centimetre of wrist circumference. For a 19 cm wrist that is roughly 190 cm, plus 20–30 cm spare for the knots and any corrections.
On your first bracelet, cut 20 cm more than you calculate. You can always trim the excess at the end — cord that is too short cannot be extended.
The cobra weave is one movement repeated alternately from the left and from the right. Once you find the rhythm, the centimetres take care of themselves.
Pass the cord through one half of the buckle and even out both ends. Slide the other half onto the ends and set it at the target length of the bracelet.
Pass the left end over the core strands, run the right end underneath and pull it through the loop on the left. Tighten evenly — the knot should sit against the buckle without deforming the cord.
Start each knot on the opposite side from the last. This is the only place you can go wrong: if the weave starts twisting into a spiral, you have made two knots in a row from the same side.
Continue up to the second half of the buckle. Tighten the last knot harder than the rest — it is what holds everything in place.
Close the buckle and try it on. The bracelet should turn on the wrist but not slide over the hand. If it is loose, undo the last two knots and shorten the core.
Cut the excess right at the last knot, leaving 3–4 mm. Singe the ends gently with a lighter and press them flat with the metal side — not your finger. Molten nylon is around 200 °C and can cause a serious burn.
A well-sealed end is flat, darker than the rest of the cord, and does not stick out. If you can lift it with a fingernail once cool, singe it again.
That is it. The first bracelet usually takes 30–40 minutes; later ones come down to a quarter of an hour. If you want something more striking, read our post on five paracord weaves.
89,90 zł
109,90 zł
3,90 zł
Which items are worth keeping to hand, and how paracord helps in an emergency.
Proven ways paracord makes every trip easier – from camp to mountain hikes.
See our picks and get inspired to create your own unique projects.
Sign up for our newsletter and we will send you a discount code. We write rarely — about new colours and sales.
The code is valid for 60 days. Unsubscribe with one click.